Blog

Latest news from our company

Never stop learning.
Pipe Leaks

What to Do When a Pipe Leaks in Your Home?

Pipe Leaks in Your Home

What to Do When a Pipe Leaks in Your Home?

Pipe leaks are a common household issue that can quickly escalate into a serious problem if not addressed promptly. A leaking pipe can lead to significant financial damage and even health hazards if not managed correctly. This article outlines the steps to take when you discover a leaking pipe in your home.

1. Shut Off the Water Supply

The first and most crucial step in dealing with a leaking pipe is to shut off the main water supply to your home. This action stops the flow of water and prevents further damage. The main shut-off valve is usually located near the entrance of the water line into your home, often in the basement or near the utility area. Familiarize yourself with its location before any emergencies arise.

2. Drain the Pipes

After turning off the water supply, drain the remaining water in the pipes by opening all the taps in your home. This step helps relieve pressure in the pipes and makes the repair process easier and cleaner.

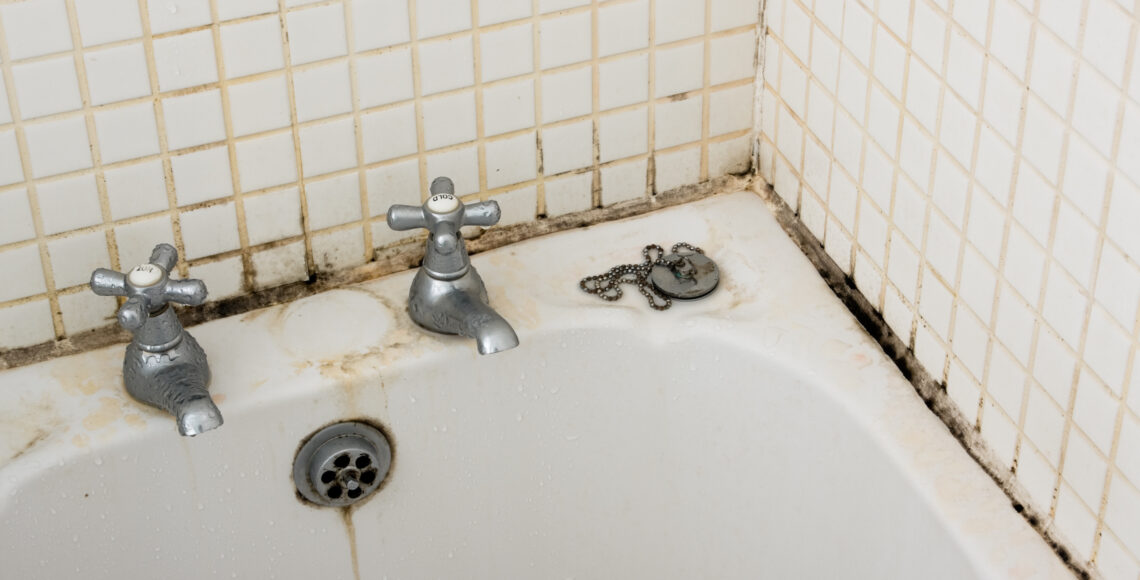
3. Identify the Leak

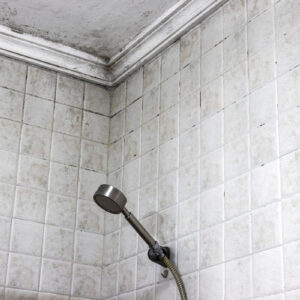
Locate the exact source of the leak. This may require a thorough inspection of the pipes, walls, and ceilings. Sometimes, the leak might not be immediately visible, so you might need to use a paper towel or a cloth to detect moisture along the pipe.

4. Temporary Fixes

If you cannot perform a permanent fix immediately, use temporary measures to control the leak. For example, pipe repair tape or epoxy putty can be used to temporarily seal the leak. These solutions are only temporary and should not be considered permanent fixes.

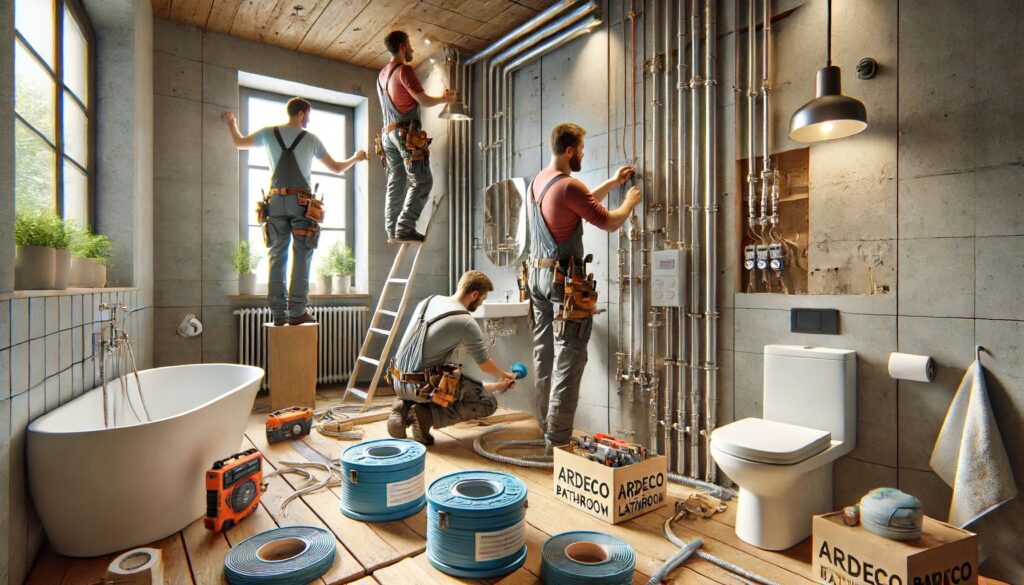
5. Call a Professional Plumber

Permanently fixing a leak often requires professional expertise and proper tools. Contacting a professional plumber ensures that the leak is accurately diagnosed and permanently fixed. Plumbers have the necessary skills and equipment to handle pipe leaks effectively.

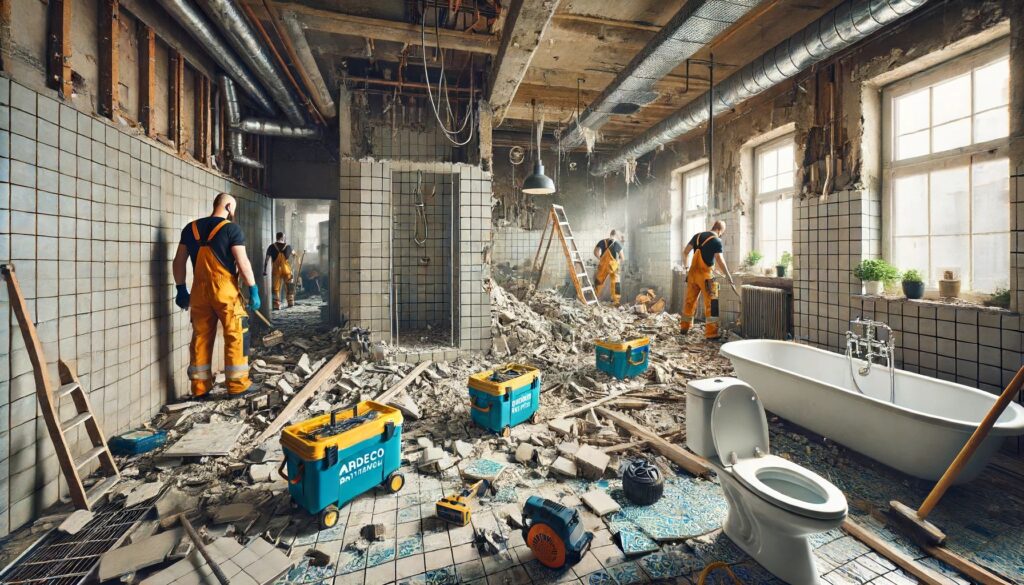
6. Prevent Future Leaks

To prevent future leaks, regular inspection and maintenance of your plumbing system are essential. Annual check-ups by a professional plumber, along with mindful water usage and proper pipe care, can help avoid many potential issues.

Conclusion

Dealing with a leaking pipe swiftly and correctly can prevent significant damage and costly repairs. Shutting off the water supply, draining the pipes, identifying the leak, applying temporary fixes, and contacting a professional plumber are crucial steps to manage a leaking pipe. Regular maintenance and preventive measures can help maintain the health and safety of your home’s plumbing system.

By following these steps, you can minimize the damage caused by a leaking pipe and ensure that your home’s plumbing remains in good condition. Always remember that prompt action and professional assistance are key to effectively managing plumbing issues.


Difference Between Tiles and Slabs

Difference Between Tiles and Slabs

Slab


tils


In the construction and interior design industry, materials used for surface coverings are of great importance. Two of the most commonly used materials are tiles and slabs. Each has its own unique features and applications, which are detailed below.

Definition of Tiles

Tiles are small, thin pieces usually made from materials like ceramic, porcelain, glass, and natural stone. They come in various sizes and shapes and are commonly used for covering floors, walls, roofs, and surfaces in bathrooms and kitchens.

Features of Tiles

  • Smaller Size: Tiles are typically produced in smaller dimensions, making them easier to handle and install.
  • Variety of Designs: Tiles come in a wide range of designs, colors, and textures, offering extensive choices for consumers.
  • Easy Installation: Due to their smaller size, tiles are generally easier and quicker to install.
  • High Durability: Ceramic and porcelain tiles are known for their resistance to water, heat, and scratches.

Definition of Slabs

Slabs are larger pieces of natural or artificial stone that are produced in a single, seamless piece. They are typically made from materials such as marble, granite, and quartz, and are used for covering larger, uniform surfaces like countertops, floors, and large walls.

Features of Slabs

  • Larger Size: Slabs are produced in larger dimensions, allowing for the covering of extensive areas with minimal seams.
  • Seamless Appearance: The larger size of slabs provides a more seamless and luxurious look to surfaces.
  • Durability and Strength: Slabs are generally made from very durable materials, making them resistant to impacts and scratches.
  • Complex Installation: Due to their larger size and heavier weight, installing slabs requires specialized skills and equipment, often making the process more time-consuming.

Conclusion

The choice between tiles and slabs depends on the specific project and its requirements. Tiles are ideal for smaller surfaces and projects requiring a variety of designs, while slabs are better suited for larger surfaces needing a seamless, luxurious look. Both materials have their own advantages and disadvantages, which should be carefully considered based on the project’s needs.

For more information and consultation on selecting the best materials for your project, contact our experts at Ardeco Bathroom Ltd.

How to Maintain Your Bathroom After a Renovation


How to Maintain Your Bathroom After a Renovation

Renovating your bathroom can be an exciting and rewarding project, transforming a functional space into a luxurious retreat. However, the key to enjoying your new bathroom for years to come lies in proper maintenance. This comprehensive guide will provide you with essential tips and tricks on how to maintain your bathroom after a renovation, ensuring that it remains in pristine condition.

Regular Cleaning Routine

Regular Cleaning Routine

The first step in maintaining your renovated bathroom is establishing a regular cleaning routine. Regular cleaning prevents the buildup of dirt, grime, and mildew, which can damage surfaces and fixtures over time.

Daily Cleaning:

  • Wipe down countertops, sinks, and faucets to prevent water spots and soap scum buildup.
  • Squeegee shower walls and doors after each use to minimize water stains and mold growth.

Weekly Cleaning:

  • Scrub the toilet, shower, and bathtub with appropriate cleaners.
  • Clean mirrors and glass surfaces with a non-abrasive glass cleaner.
  • Mop the floor to remove dust and dirt.

Monthly Cleaning:

  • Deep clean grout lines with a grout cleaner or a mixture of baking soda and water.
  • Check and clean ventilation fans to ensure proper airflow and reduce moisture buildup.

Ventilation

Proper ventilation is crucial for maintaining a bathroom. Excess moisture can lead to mold and mildew, which can damage surfaces and affect indoor air quality. Ensure that your bathroom is well-ventilated by:

  • Using Exhaust Fans: Install a high-quality exhaust fan and use it during and after showers to remove excess moisture.
  • Opening Windows: If your bathroom has windows, open them to allow fresh air to circulate and reduce humidity levels.
  • Door Gaps: Ensure there is a gap under the bathroom door to allow air to flow freely.

Preventing Mold and Mildew

Mold and mildew can be persistent problems in bathrooms due to the constant presence of moisture. Here are some tips to prevent their growth:

  • Seal Grout and Tiles: After your renovation, ensure that grout lines and tiles are properly sealed to prevent water penetration.
  • Use Mold-Resistant Products: Opt for mold-resistant paint and caulk in your bathroom.
  • Keep Surfaces Dry: Wipe down wet surfaces and fix any leaks promptly to prevent mold from taking hold.

Maintaining Fixtures

Maintaining Fixtures

Your bathroom fixtures, such as faucets, showerheads, and toilets, require regular maintenance to function correctly and look their best.

  • Faucets and Showerheads:
    • Clean aerators and showerheads regularly to remove mineral deposits.
    • Check for leaks and replace worn-out washers or cartridges.
  • Toilets:
    • Clean the toilet bowl regularly with a toilet cleaner.
    • Inspect the toilet’s flushing mechanism and replace any faulty parts.

Caring for Flooring and Surfaces

Caring for Flooring and Surfaces

Different types of bathroom flooring and surfaces require specific care to maintain their appearance and longevity.

  • Tile Flooring:
    • Clean tiles with a mild detergent and water.
    • Regularly seal grout lines to protect against stains and moisture.
  • Vinyl and Laminate Flooring:
    • Sweep or vacuum regularly to remove dirt and debris.
    • Use a damp mop with a mild cleaner suitable for vinyl or laminate.
  • Natural Stone Surfaces:
    • Clean stone surfaces with a pH-neutral cleaner to avoid damage.
    • Seal stone countertops and floors periodically to protect against stains.

Plumbing Maintenance

Plumbing Maintenance

Proper plumbing maintenance is essential to prevent leaks and water damage in your renovated bathroom.

  • Inspect for Leaks: Regularly check under sinks and around toilets for signs of leaks.
  • Clean Drains: Use a drain cleaner or a mixture of baking soda and vinegar to keep drains clear and prevent clogs.
  • Water Heater Maintenance: Ensure your water heater is functioning correctly and set to an appropriate temperature to avoid scalding.

Maintaining the Aesthetic

To keep your bathroom looking as good as new, pay attention to the small details that contribute to its overall aesthetic.

  • Replace Caulk and Sealant: Over time, caulk and sealant can degrade and discolor. Replace them as needed to maintain a clean appearance.
  • Polish Fixtures: Regularly polish chrome and stainless steel fixtures to keep them shiny and free of water spots.
  • Refresh Paint: Touch up any chipped or faded paint to keep walls looking fresh.

Energy Efficiency

Maintaining an energy-efficient bathroom not only helps the environment but also reduces utility bills.

  • Install Low-Flow Fixtures: Consider replacing old fixtures with low-flow options to conserve water.
  • LED Lighting: Use LED bulbs for energy-efficient and long-lasting lighting.
  • Insulate Pipes: Insulate hot water pipes to reduce heat loss and improve energy efficiency.

Regular Inspections

Conducting regular inspections of your bathroom can help identify potential issues before they become significant problems.

  • Check for Damage: Look for signs of water damage, mold, and wear and tear on surfaces and fixtures.
  • Test Safety Features: Ensure that safety features like grab bars and non-slip mats are securely in place and functioning correctly.

Professional Maintenance

Finally, consider scheduling professional maintenance for your bathroom at least once a year. A professional plumber or contractor can perform a thorough inspection and address any issues that may not be visible to the untrained eye.

Conclusion

Maintaining your bathroom after a renovation involves regular cleaning, proper ventilation, and routine inspections. By following these tips and incorporating preventive measures, you can ensure that your renovated bathroom remains a beautiful and functional space for years to come. Investing time and effort in maintenance will protect your investment and enhance your bathroom’s longevity and aesthetic appeal.


Microcement Application

Comprehensive Guide to Microcement Application

Microcement Application: Detailed Guide and Process

Microcement Application Guide

Microcement is a versatile and innovative material used in modern construction and interior design. Its application in bathrooms and wet rooms has gained popularity due to its durability and seamless finish. In this article, we will explore the history of microcement, the different types of colors available, the time frame for its application, and the step-by-step process involved in applying microcement, with a focus on bathrooms and wet rooms.

History of Microcement

Microcement, also known as micro concrete or micro screed, originated in the early 2000s as a solution for creating seamless and continuous surfaces. It is a cement-based coating that can be applied to various surfaces, including floors, walls, and furniture. Over the years, its use has expanded due to its aesthetic appeal and practical benefits.

Types of Colors

Microcement color

Microcement is available in a wide range of colors, allowing for customization to suit any design aesthetic. The most common colors include shades of grey, white, and beige, which provide a modern and minimalist look. However, it is also available in more vibrant colors like blue, green, and red for more daring designs. The color is added during the mixing process, ensuring a consistent hue throughout the application.

Time Frame from Application to Use

The application of microcement is a multi-step process that typically takes around 5 to 7 days to complete. This time frame can vary depending on the size of the area and the complexity of the design. Here is a breakdown of the timeline:

  • Preparation: 1-2 day
  • First Layer Application: 2-3 day
  • Sanding and Second Layer Application: 2-3 days
  • Final Sanding and Sealing: 2-4days
  • Curing Time: 1-2 day

Initial Preparation for Microcement

The first step in applying microcement is to prepare the surface. This involves cleaning the area thoroughly to remove any dirt, grease, or debris. Any cracks or holes should be filled, and the surface should be sanded to create a smooth and even base. A primer is then applied to ensure good adhesion of the microcement.

First Layer Application

Once the surface is prepared, the first layer of microcement is applied. This layer serves as the base coat and is usually around 1-2 mm thick. It is applied using a trowel in thin, even coats. This layer needs to dry for at least 24 hours before the next step.

Sanding and Second Layer Application

After the first layer has dried, it is lightly sanded to remove any imperfections. The second layer of microcement is then applied in the same manner as the first. This layer is also around 1-2 mm thick and needs to dry for another 24 hours.

Final Sanding and Sealing

Once the second layer is dry, it is sanded again to achieve a smooth finish. The surface is then cleaned to remove any dust. A sealer is applied to protect the microcement and enhance its durability. The sealer also provides a water-resistant barrier, making it ideal for bathrooms and wet rooms. The sealed surface needs to cure for 24 hours before it can be used.

Specialized Application in Bathrooms and Wet Rooms

Applying microcement in bathrooms and wet rooms requires special attention to detail. The seamless and water-resistant properties of microcement make it an excellent choice for these areas. However, it is crucial to ensure proper sealing to prevent water penetration and damage.

In bathrooms and wet rooms, the microcement is applied to all surfaces, including floors, walls, and even shower enclosures. This creates a cohesive and modern look. The application process is similar to that of other areas but with additional steps to ensure waterproofing. A waterproof membrane is often applied before the microcement to provide an extra layer of protection.

Benefits of Using Microcement in Bathrooms and Wet Rooms

wet room

Microcement offers several benefits when used in bathrooms and wet rooms:

  • Seamless Finish: Eliminates grout lines, reducing areas where mold and mildew can develop.
  • Durability: Highly resistant to wear, scratches, and impacts.
  • Water Resistance: When properly sealed, provides excellent protection against water penetration.
  • Versatility: Can be applied to various surfaces, including tiles, concrete, and plasterboard.
  • Low Maintenance: Easy to clean and maintain, requiring only regular wiping with a damp cloth.

Conclusion

Microcement is a versatile and durable material that offers a seamless and modern finish, making it an ideal choice for bathrooms and wet rooms. By following the proper application steps, from initial preparation to final sealing, you can achieve a beautiful and long-lasting result. With its wide range of colors and design possibilities, microcement allows you to create a unique and stylish space tailored to your preferences.

If you’re interested in mold removal and remediation services, feel free to contact us:

Ardeco Bathroom Ltd

The Science Behind Black Mold Growth in Bathroom Environments

The Science Behind Black Mold Growth in Bathroom Environments

The Science Behind Black Mold Growth in Bathroom Environments

Black Mold

Black mold, scientifically known as Stachybotrys chartarum, is a type of fungus that thrives in environments with high humidity and moisture content. Bathrooms, with their frequent exposure to water and often inadequate ventilation, create ideal conditions for black mold growth. Let’s delve into the scientific aspects of black mold growth in bathrooms, including its causes and factors contributing to its proliferation.

Factors Contributing to Black Mold Growth

  1. High Humidity Levels: Bathrooms are inherently humid environments due to activities such as showering and bathing. The moisture in the air provides a conducive environment for mold spores to germinate and proliferate.
  2. Inadequate Ventilation: Poor ventilation exacerbates the issue by trapping moisture within the bathroom. Without proper airflow, moisture accumulates on surfaces, promoting mold growth.
  3. Organic Matter: Mold requires organic matter as a nutrient source for its growth. In bathrooms, organic materials such as soap scum, hair, and skin cells provide ample food sources for mold to thrive.
  4. Temperature: Black mold typically thrives in temperatures ranging from 70 to 90 degrees Fahrenheit (21 to 32 degrees Celsius). Bathrooms, especially those with heated flooring or insufficient ventilation, often maintain temperatures within this range, further facilitating mold growth.
  5. Enzymes and Metabolic Processes: Mold secretes enzymes that break down organic matter into simpler compounds that it can absorb and utilize for growth. These metabolic processes contribute to the degradation of surfaces and the spread of mold colonies.

Types of Mold Found in Bathrooms

In addition to Stachybotrys chartarum, several other types of mold commonly found in bathrooms include:

  • Aspergillus: This genus of mold comprises numerous species commonly found indoors, including Aspergillus niger and Aspergillus flavus. Aspergillus can produce toxins known as mycotoxins, posing health risks upon inhalation or ingestion.
  • Penicillium: Penicillium species are ubiquitous molds that can cause indoor air quality issues and allergic reactions in sensitive individuals. They often appear as blue or green mold growth on surfaces.
  • Cladosporium: Cladosporium is a common outdoor mold that can also colonize indoor environments, including bathrooms. It can trigger allergic reactions and respiratory symptoms in susceptible individuals.

Prevention and Remediation Strategies

To prevent black mold growth in bathrooms, it is essential to address the underlying factors contributing to its proliferation. This includes:

  • Maintaining Proper Ventilation: Install exhaust fans or windows to facilitate airflow and reduce moisture buildup.
  • Controlling Humidity Levels: Use dehumidifiers or air conditioners to maintain humidity levels below 60%.
  • Regular Cleaning and Maintenance: Clean bathroom surfaces regularly to remove organic matter and prevent mold colonization.
  • Sealing Grout and Caulking: Ensure that grout lines and caulking around fixtures are properly sealed to prevent water intrusion and mold growth.

In cases where black mold has already appeared, remediation efforts should be prompt and thorough. This may involve:

  • Professional Mold Remediation: Engage certified mold remediation professionals to assess and remediate mold contamination effectively.
  • Safe Mold Removal Practices: Utilize personal protective equipment and follow recommended guidelines for safe mold removal and disposal.
  • Addressing Underlying Moisture Issues: Identify and rectify sources of moisture ingress, such as leaky pipes or faulty seals, to prevent mold recurrence.

In conclusion, understanding the scientific principles underlying black mold growth in bathrooms is essential for effective prevention and remediation efforts. By addressing factors such as humidity, ventilation, and organic matter, homeowners can create an environment less conducive to mold proliferation and safeguard the health and safety of occupants.

If you’re interested in mold removal and remediation services, feel free to contact us:

Ardeco Bathroom Ltd


Average bathroom renovation costs in the UK

The Ultimate Guide to Bathroom Renovation

The Ultimate Guide to Bathroom Renovation

The Ultimate Guide to Bathroom Renovation

Renovating a bathroom is one of the most significant projects for improving living space and increasing home value. This process involves structural changes, interior design, and selecting appropriate materials, all of which require careful planning and budgeting. In this article, we will explore a comprehensive guide to bathroom renovation to help you tackle this crucial project with confidence.

Section 1: Planning and Budgeting

Budgeting and Cost Management

Identifying Needs and Expectations

Before embarking on any renovation project, identifying your needs and expectations is crucial. Are you looking to increase bathroom space? Do you need a complete overhaul of the decor? Defining these needs helps you plan more effectively.

Budgeting and Cost Management

Budgeting is a critical phase in bathroom renovation. You need to calculate various costs, including materials, labor, and potential unforeseen expenses. Creating a detailed budget ensures you don’t run out of funds during the project.

Consulting Professionals

Consulting with professionals can prevent many issues in bathroom renovation. Experts can guide you through the planning process, recommend the best materials, and ensure the work meets the highest standards.

Section 2: Choosing Materials and Fixtures

Choosing Materials and Fixtures

Selecting Tiles and Flooring

Choosing the right tiles and flooring is essential for both the aesthetics and functionality of your bathroom. Consider options like ceramic, porcelain, or natural stone tiles. Each type has its pros and cons, so select based on your style preference and budget.

Choosing Fixtures and Accessories

Fixtures such as faucets, showerheads, and accessories like mirrors and lighting play a significant role in the overall design. Opt for high-quality, durable materials to ensure long-lasting performance and a polished look.

Evaluating Bathtub and Shower Options

When selecting a bathtub or shower, consider the space and your preferences. Freestanding tubs, walk-in showers, or combined bath-shower units each offer different benefits. Evaluate what works best for your bathroom size and usage.

Section 3: Renovation Steps

Demolition and Preparation

Demolition and Preparation

The first step in any renovation is demolition. Carefully remove old fixtures, tiles, and any unwanted structures. Proper preparation of the space is crucial for the smooth installation of new elements.

Plumbing and Electrical Installations

Plumbing and Electrical Installations

Updating or installing new plumbing and electrical systems is vital. Ensure these installations comply with local codes and are done by licensed professionals to avoid future issues.

Installing Tiles and Flooring

Installing Tiles and Flooring

After the underlying systems are in place, begin installing tiles and flooring. This step requires precision to ensure a flawless finish. Hiring experienced tilers can make a significant difference in the outcome.

Installing Fixtures and Accessories

Once the major installations are complete, install fixtures and accessories. Ensure everything is securely mounted and functions correctly. This includes faucets, showerheads, mirrors, lighting, and any custom features.

Final Touches and Cleanup

The final step involves adding the finishing touches and thorough cleaning. Inspect all installations, ensure everything is operational, and perform a deep clean to make your new bathroom shine.

Section 4: Professional Tips and Tricks

Maximizing Space and Efficiency

Consider innovative storage solutions and layout designs to maximize the use of space. Built-in shelves, over-the-toilet storage, and corner sinks can help create a more efficient bathroom layout.

Choosing the Right Ventilation

Proper ventilation is essential to prevent mold and mildew. Install high-quality exhaust fans and consider windows or additional ventilation options to maintain a dry and healthy environment.

Ensuring Safety and Compliance

Safety should be a top priority. Ensure all electrical installations are waterproof, use non-slip flooring, and install grab bars if needed. Compliance with local building codes and standards is also crucial for a successful renovation.

Conclusion

Renovating your bathroom can significantly enhance your home’s comfort and value. By following this comprehensive guide, from planning and budgeting to choosing the right materials and ensuring professional installation, you can achieve a stunning and functional bathroom.

Welcome to Ardeco Bathroom Ltd/24/7Professional Bathroom and Toilet Renovation Services Emergency Home Services

Welcome to Our Blog

Welcome to Our Blog

Welcome to the ARDECO BATHROOM LTD blog! We’re excited to launch this platform to provide valuable insights and information about our services and the latest trends in home renovation and maintenance.

About Us

ARDECO Bathroom Ltd has been operating in the home renovation industry for many years, specializing in bathroom and toilet renovations. Our team of skilled professionals is dedicated to delivering high-quality workmanship and exceptional customer service. We take pride in transforming spaces into beautiful, functional, and modern areas that meet our clients’ needs and preferences.
•Bathroom and Toilet Renovation: Complete makeover services, including demolition, plumbing, tiling, and installation of new fixtures.
•Interior Design: Tailored design solutions to enhance the aesthetics and functionality of your home.
•Plumbing Installation and Repair: Expert plumbing services to ensure your systems are running smoothly.
•Lighting and Electrical Work: Comprehensive lighting and electrical services to brighten and power your home.

About Our Blog

The purpose of our blog is to keep you informed and educated about various aspects of home improvement. Here’s what you can expect from our posts:
•Product and Tool Introductions: Learn about the latest products and tools in the market that can make your renovation projects easier and more effective.
•DIY Tips and Tutorials: Step-by-step guides and practical tips for handling minor home repairs and maintenance tasks yourself. We’ll show you what to do in emergency situations before a professional arrives.
We hope this blog becomes a valuable resource for you, offering useful information and inspiration for all your home improvement projects. Stay tuned for our upcoming posts!

Get a free quote for your project. Click here.

Appointment